How to pass on hiring a data scientist with SageMaker Autopilot (AutoML)
"What if..." how many times have you asked this question before making a decision? If you are a business owner, a marketing, sales, or supply chain specialist, or someone who worries about the future, you ask such questions a lot. There is one common thing among you all - nobody wants to wander in the dark.
"What if we run a 20% discount on product X next month?" Can we simulate the impact on sales of product X, related products (cannibalization), and revenue? Can we determine the optimal discount and timing for promotions? Yes, if you are collecting data about your customers and purchases. "But I need an experienced data scientist..." No, you don't.
Amazon SageMaker Autopilot is like a highly skilled research assistant for machine learning. You give it a dataset and a target to aim for, and it dives into the data, automatically experimenting with various preprocessing steps, feature engineering techniques, and modeling algorithms. It then presents you with a ranked list of the best-performing models, along with detailed reports explaining its methodology and results. This not only accelerates the model development process but also provides valuable insights into the data and the factors driving model performance, making it a powerful tool for both novice and experienced data scientists.
Let's take a look at how we can do an analysis and find the best model for our case. We are going to use the same data set (gym members exercise tracking) as in the previous article.
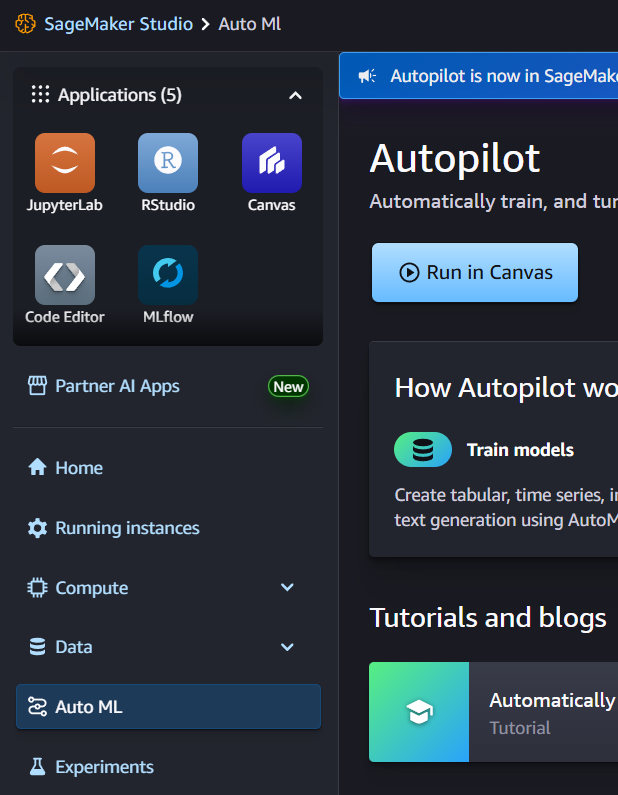
1) Open SageMaker Studio and click on "Auto ML", then "Run in Canvas".
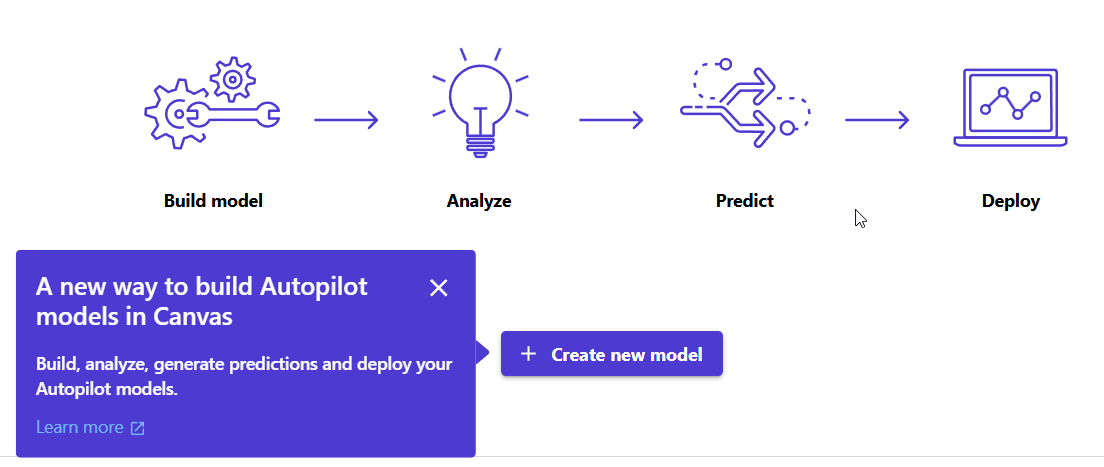
2) When Canvas is opened, click on "Create new model".
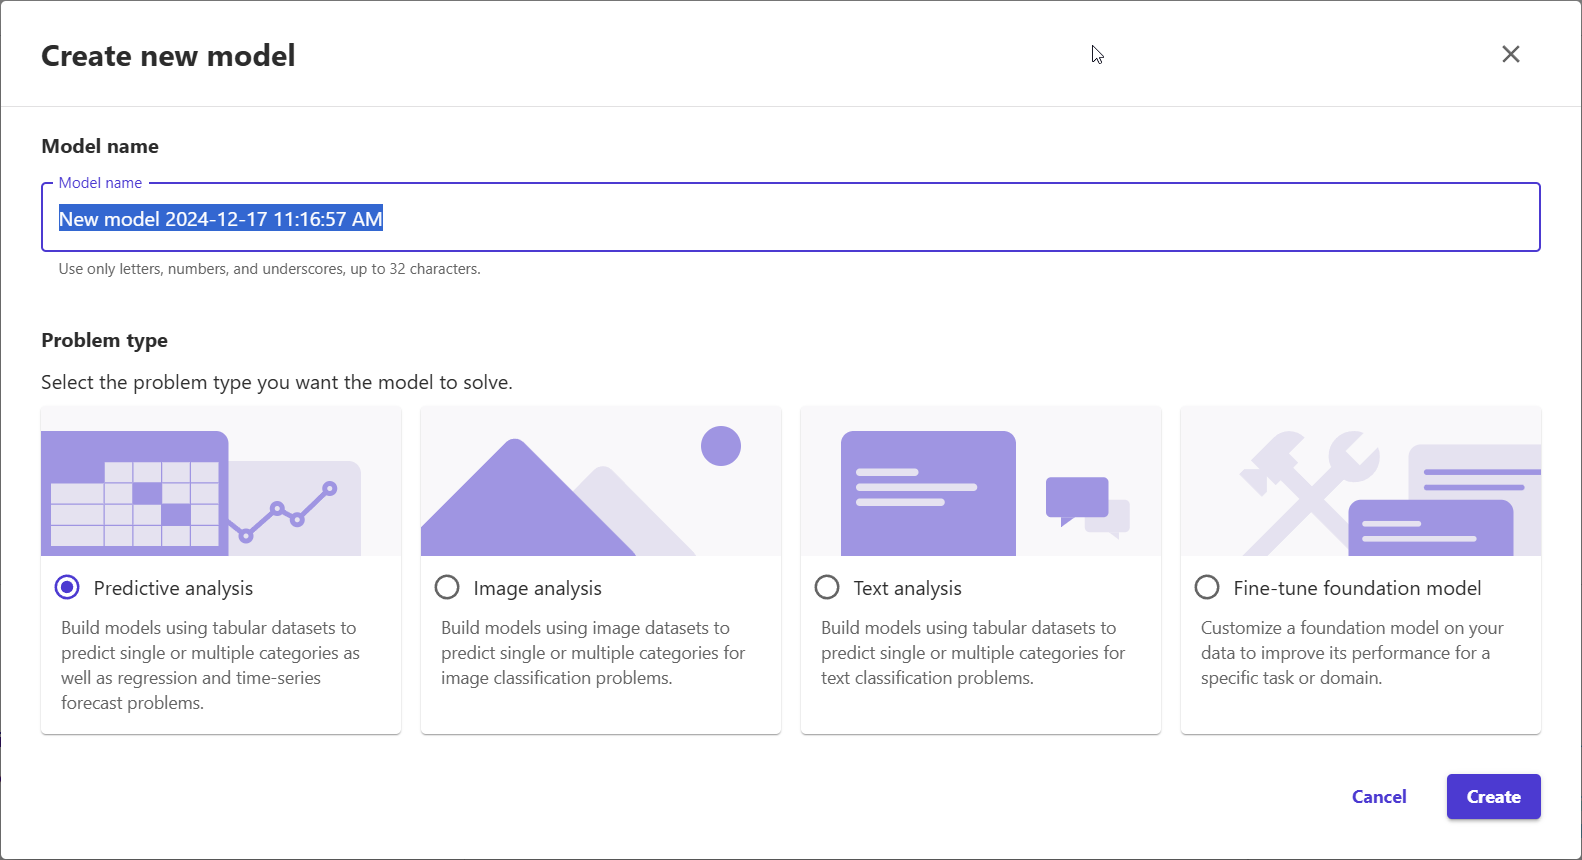
3) Give it a name, select "Predictive analysis," and click on "Create".
4) Import your data - top right button. (I'll skip details about the import part because the previous article described it.) Don't forget to export data to the Canvas dataset.
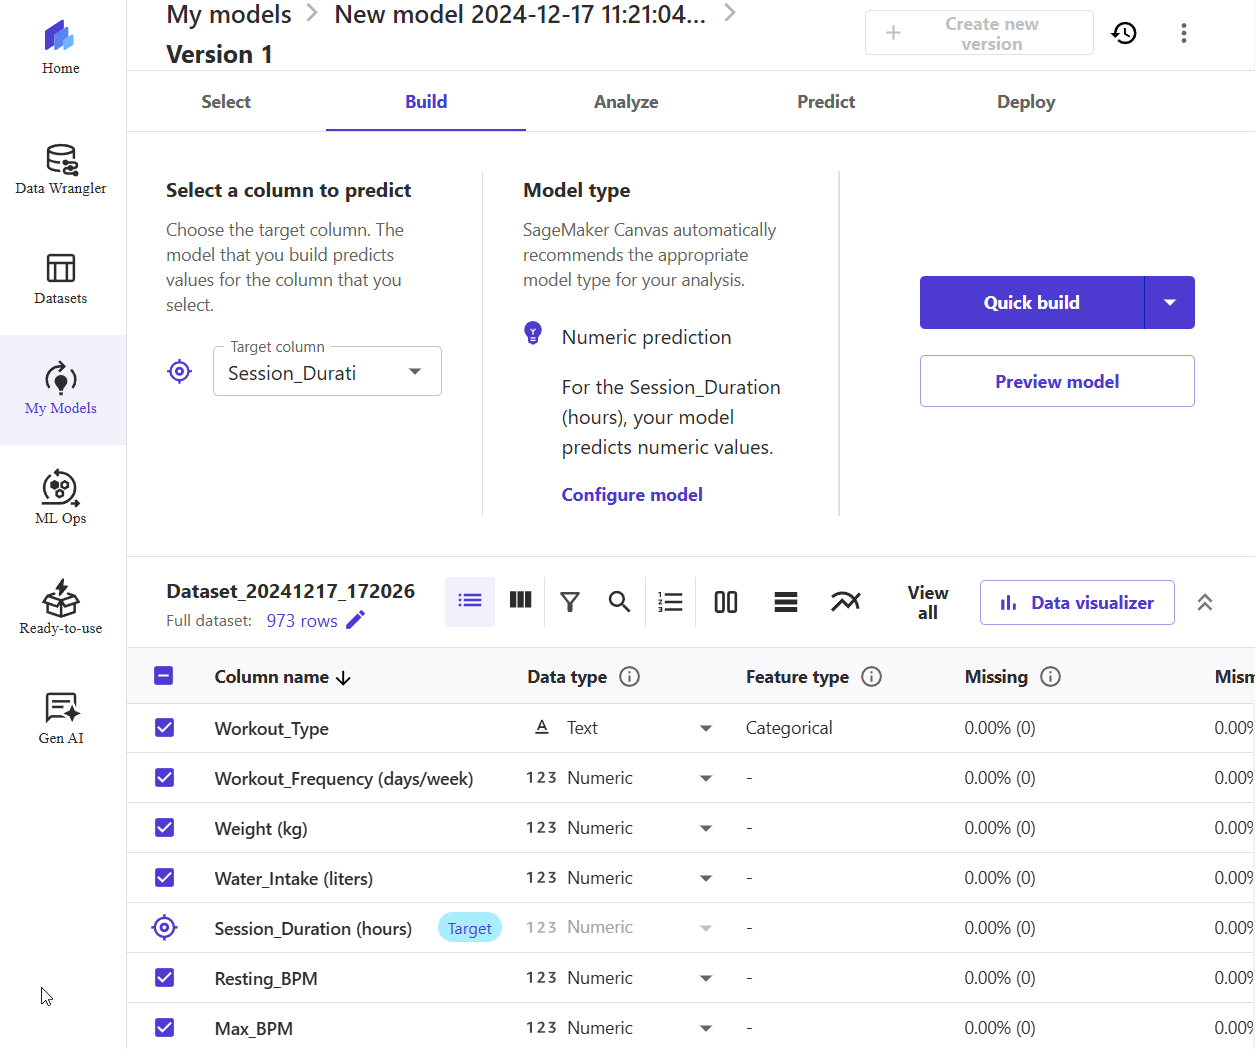
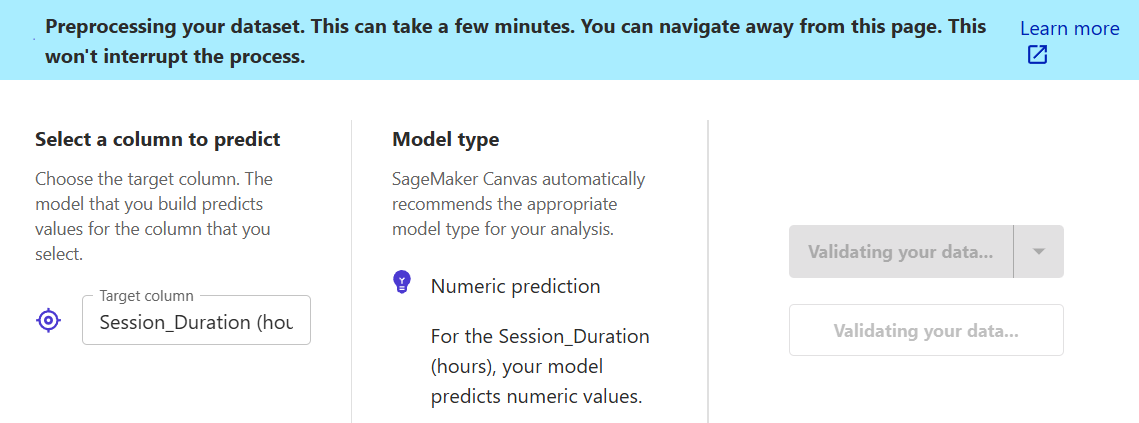
5) As soon as you select the dataset, the system will show the "Build" tab. Pick the "Target column". This is the column that contains the answers you are going to predict. In this example, it is a gym session duration.
6) (Optional) You can click "Preview model" to get a quick (<5 minutes) insight.
7) Click "Quick build" to start building your models. It is not a fast process, so be patient and wait. SageMaker by default will generate 100 model candidates. With ~1000 records, it took me between 5-10 minutes.
8) Then the process will finish, you will receive three options:
- Standard build - Rebuild the next version in Standard mode. You can review the dataset and configuration for the new model version.
- Deploy - Deploy your model to a SageMaker endpoint so that you can make predictions from outside of the Canvas application, test and monitor your model to proactively detect issues such as model drift.
- Predict - Start making Predictions with your model.
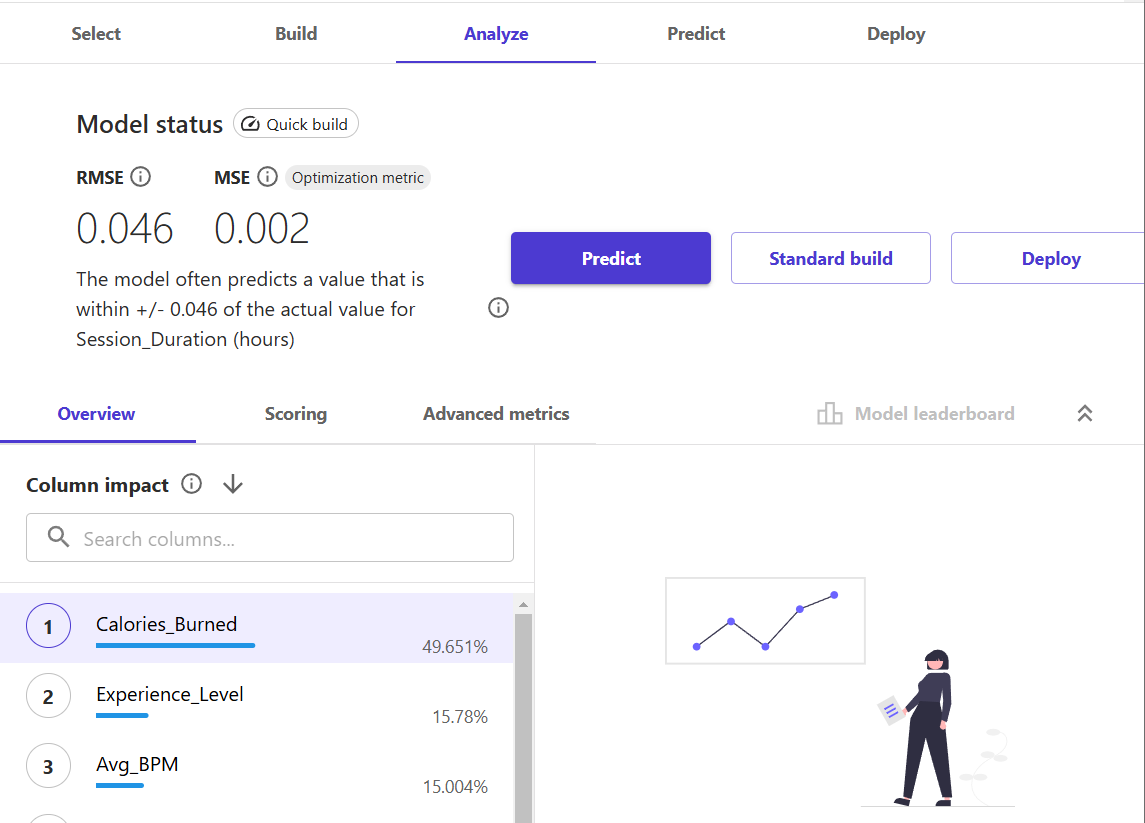
9) Let's keep it simple, for the sake of example, and click on the "Predict" button. Then click on "Single prediction".
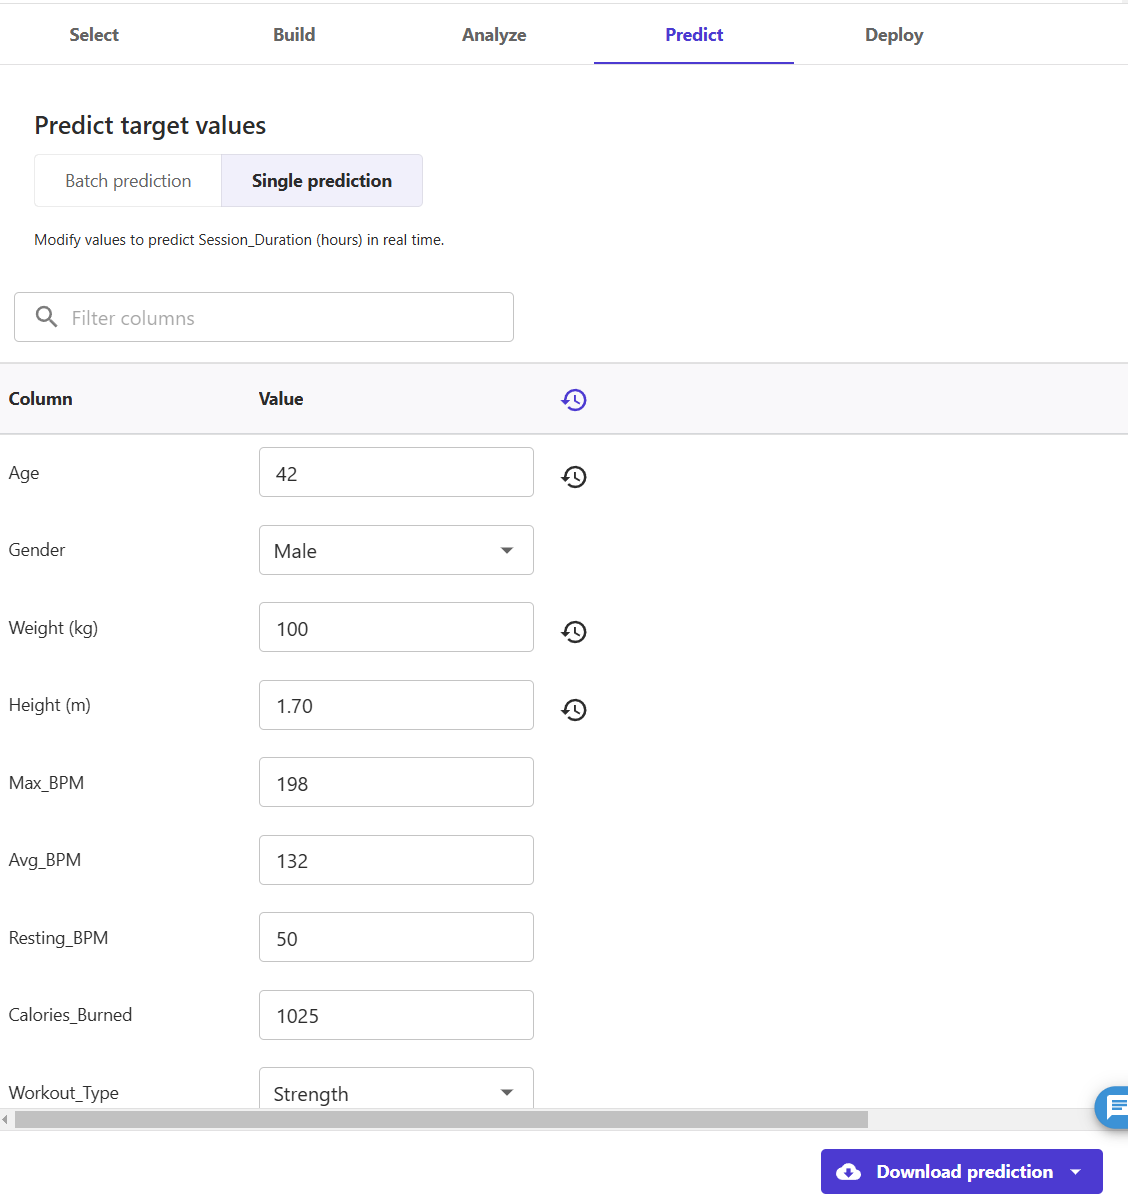
10) Change the data to match the case you want to predict. Then click "Download prediction" and open the downloaded CSV file.
In this example, we updated age, weight, and height. The output contained a single value
1.5091722011566162which tells us that 42 years old man who has 100 kg body weight, etc... likely is going to spend 1.5 hours in the gym.
Definitely, you will get a different set of value, but I hope you've got the idea and simplicity of AutoML. With just a few clicks you have used 100 model candidates and picked the best one. You can adjust the number of candidates with "Configure model" > "Max candidates and runtime" based on your needs.
So far, we have learned how to use AutoML via the console. But if you are a software developer, you may be wondering how to recreate the process in Python. I am not going to show a full example; just the idea is about the key functions and the sequence one has to call to get the results.
import sagemaker
from sagemaker.automl.automl import AutoML

sm_session = sagemaker.Session()
data = sm_session.upload_data(...)

ml_job = AutoML(...)
ml_job.fit(inputs=data, logs=False, wait=False)

# When the analysis is complete, we can find the best candidate.
best_candidate = ml_job.best_candidate()

print(best_candidate['CandidateName'])
print(best_candidate['FinalAutoMLJobObjectiveMetric'])
Looking for help? Reach me any time.