How to separate public and management traffic on AWS EC2
When industry or certification security requirements demand that no ports except 443 be opened on public subnets, but your application needs other ports accessible to work properly, or you need to SSH to the instance to perform maintenance/troubleshooting activities. Can it be done?...
When industry or certification security requirements demand that no ports except 443 be opened on public subnets, but your application needs other ports accessible to work properly, or you need to SSH to the instance to perform maintenance/troubleshooting activities. Can it be done? It is easy to achieve using a second secondary network interface.
The primary network interface on the instance (for example, eth0) handles public traffic, which may or may not be behind a load balancer, and has an associated security group that allows access to the server from the internet. For example, allow TCP ports 80 and 443 from 0.0.0.0/0 or from the load balancer.
The secondary network interface on the instance (for example, eth1) handles backend management traffic. It's connected to a separate subnet with more restrictive access controls and is located within the same Availability Zone as the primary network interface. It has an associated security group that allows SSH access only, initiated from one of the following locations:
- An allowed range of IP addresses, either within the VPC or from the internet.
- A private subnet within the same Availability Zone as the primary network interface.
- A virtual private gateway.
The secondary network interface can be added to new or existing Ec2 instances.
New EC2 instance
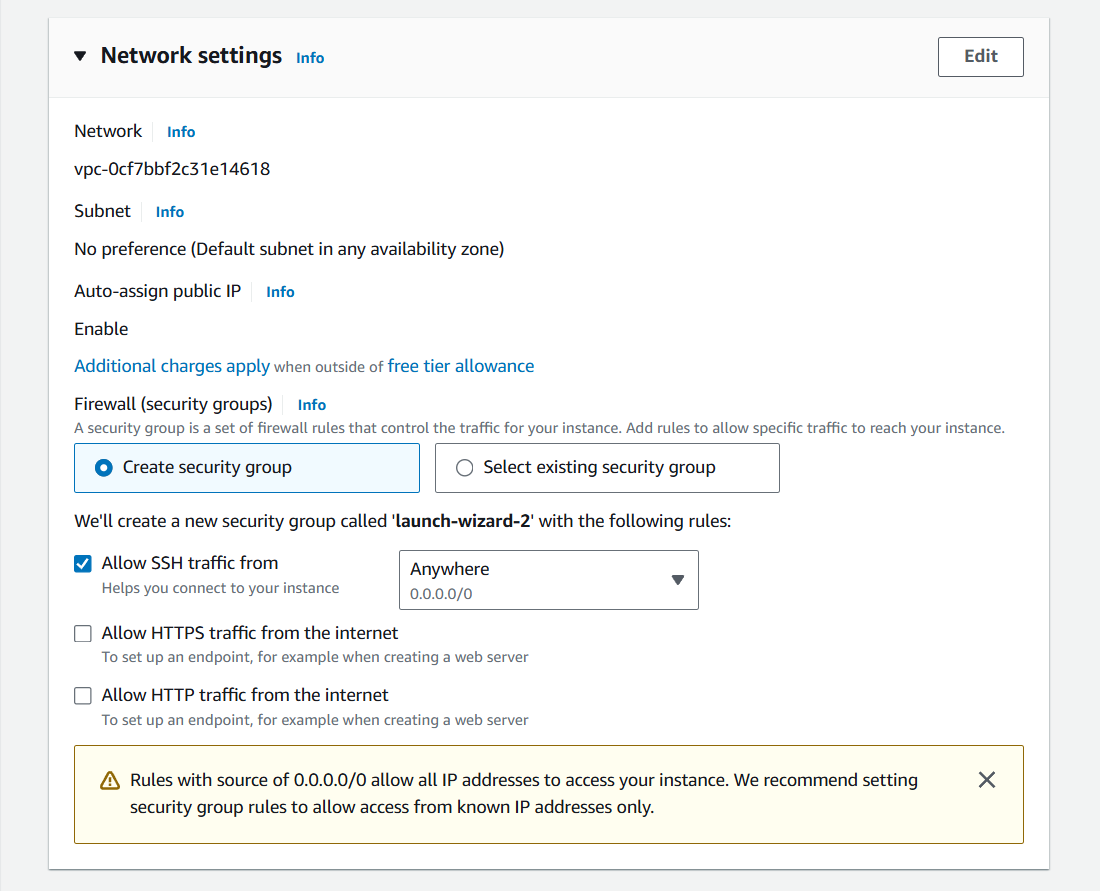
1) When you launch a new instance, navigate to "Network settings", and click on "Edit".
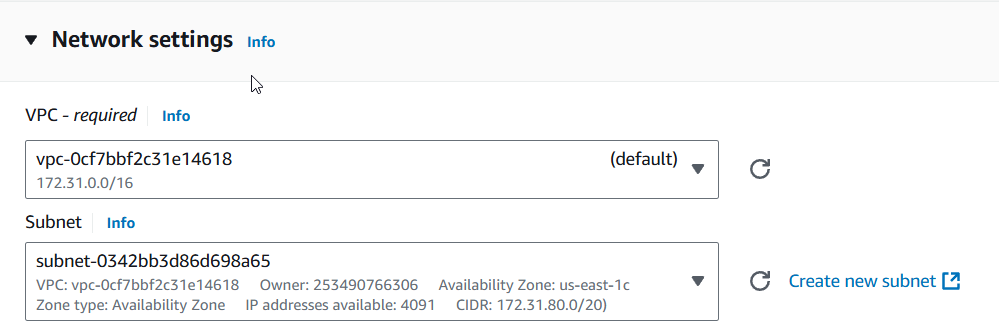
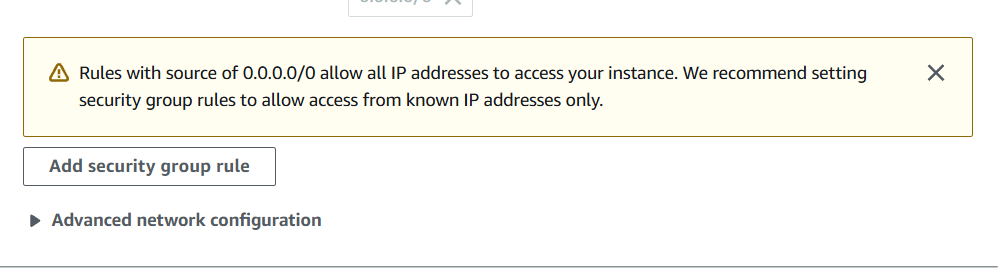
2) Select the desired subnet. As soon as it is selected, a new dropdown "Advanced network configuration" will be shown at the bottom of the network settings. Expand it.
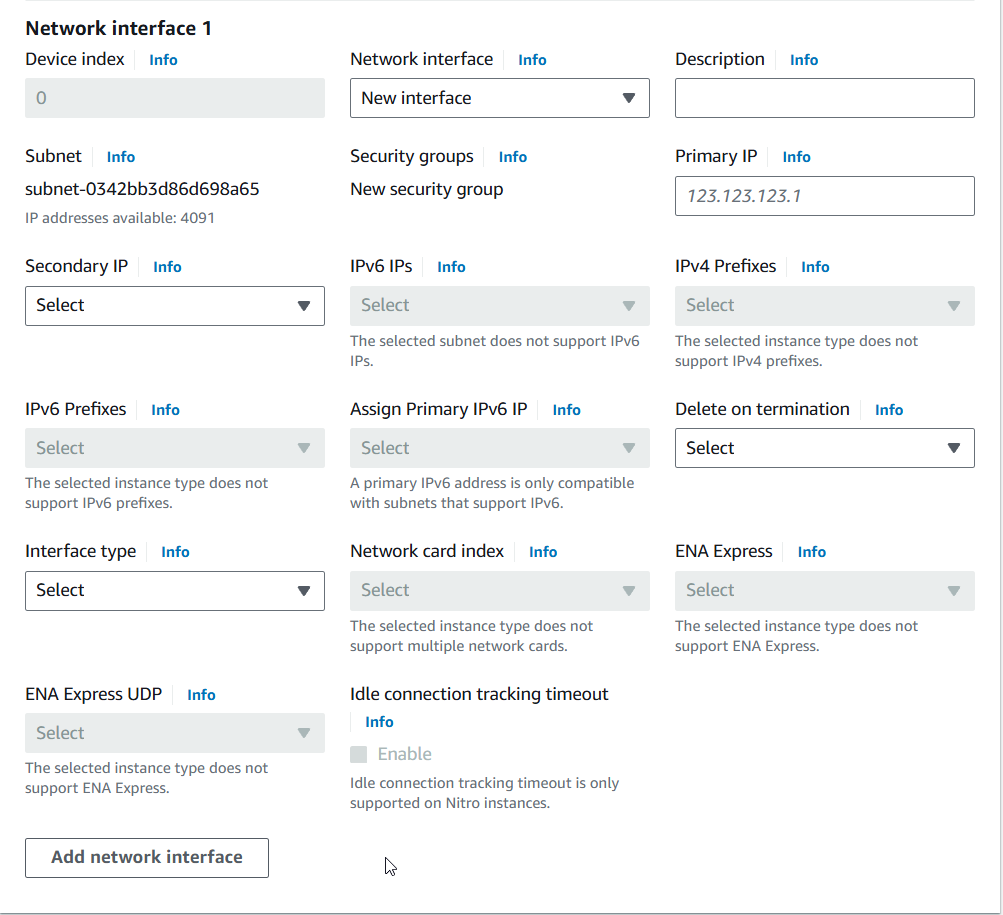
3) Click "Add network interface" and complete the required information.
Existing EC2 instance
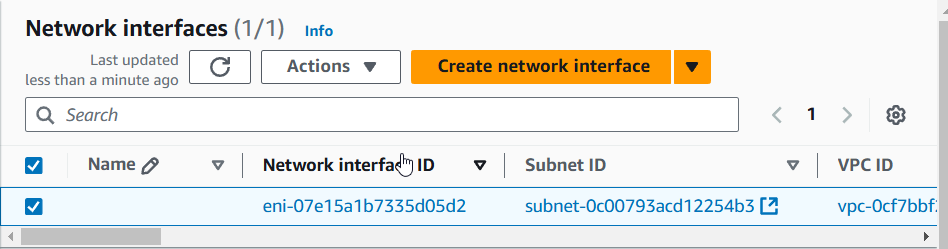
1) Open the EC2 service and click "Network interfaces" on the left menu.
2) Click on "Create network interface".
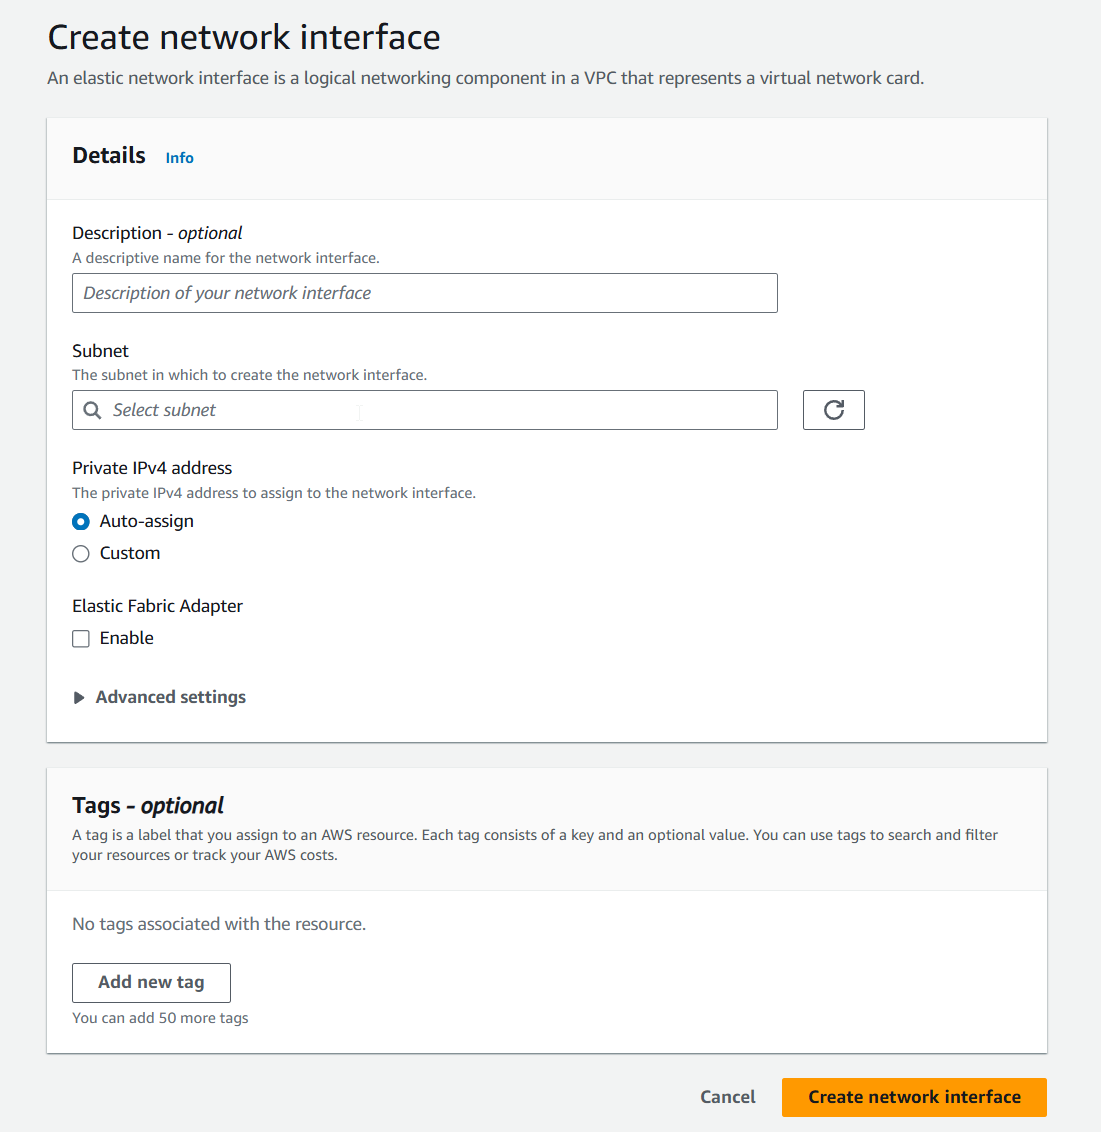
3) Select subnet and security group, then click "Create network interface".
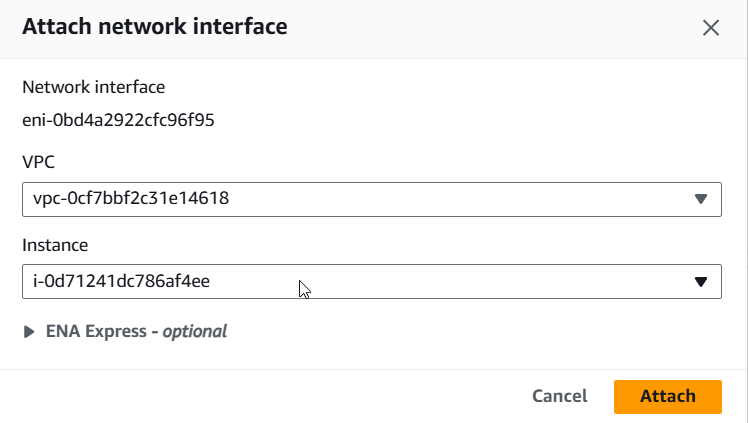
4) Check the new network interface and then "Actions" -> "Attach".
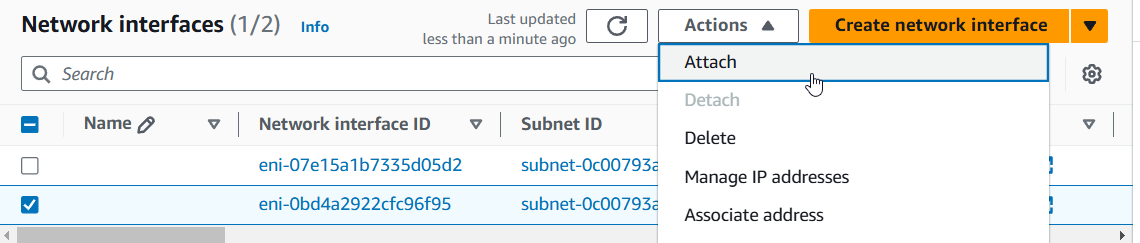
5) Select your instance ID and click on "Attach".
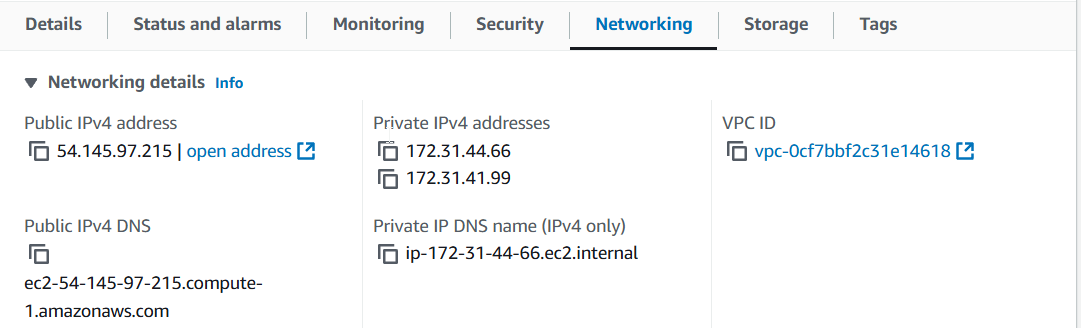
6) If you go back to EC2 instance details and navigate to the "Networking" tab, you will see two network interfaces attached to the instance - each associated with distinct security groups and subnets.
Are you looking for help? Reach me any time.